Improving indoor air quality is a top priority for many homeowners, and installing a UV light system in your HVAC ductwork is a proven way to help reduce airborne contaminants. This air duct UV light installation guide provides a detailed, practical walkthrough for anyone considering adding UV purification to their home’s ventilation system. Whether you’re a DIY enthusiast or simply want to understand the process before hiring a professional, this article covers the essential steps, safety tips, and best practices for a successful installation.
Before diving into the installation process, it’s important to understand how UV lights work in air ducts. These systems use ultraviolet radiation to neutralize mold, bacteria, and viruses as air circulates through your HVAC system. For those interested in learning more about the impact of UV lights on indoor environments, you can read about potential indoor air quality issues related to UV disinfection.
For those looking to further reduce contaminants, check out our guide on reducing mold risk in ductwork for additional strategies that complement UV light installation.
Why Install a UV Light in Your HVAC System?
Adding a UV light to your air ducts offers several benefits:
- Improved air quality: UV lights help neutralize harmful microorganisms, reducing the risk of respiratory issues.
- Mold prevention: By targeting mold spores, UV systems can help prevent growth inside your ductwork.
- Odor reduction: Eliminating bacteria and mold can also reduce unpleasant smells circulating through your home.
- System efficiency: Cleaner coils and ducts mean your HVAC system can run more efficiently, potentially lowering energy costs.
For more information on the benefits after installation, see our article on air quality improvements after UV installation.
Preparation: What You Need Before Starting
Before beginning the process, gather the following tools and materials:
- UV light kit designed for HVAC systems
- Drill with hole saw attachment (size specified in kit instructions)
- Screwdriver
- Protective gloves and safety glasses
- Permanent marker
- Measuring tape
- Vacuum or cleaning supplies (for dust and debris)
Always review the manufacturer’s instructions for your specific UV light model. If you’re unsure about any step, consult a licensed HVAC technician.
Choosing the Best Location for Your UV Light
Placement is critical for effective UV purification. The most common and effective locations are:
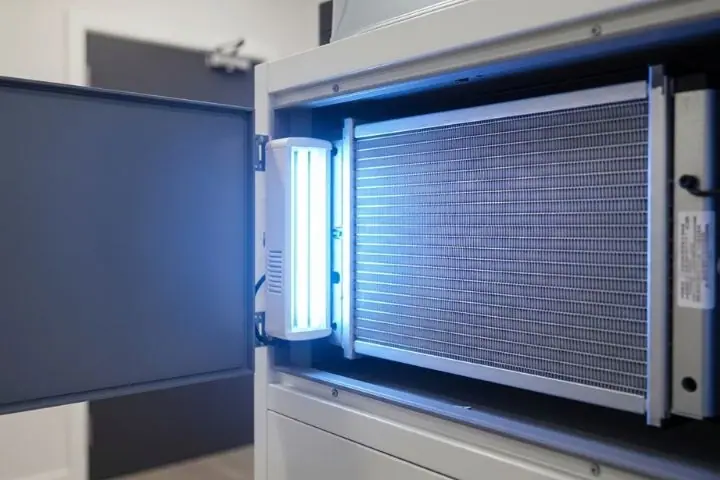
- Near the evaporator coil: This area is prone to mold and microbial buildup due to moisture.
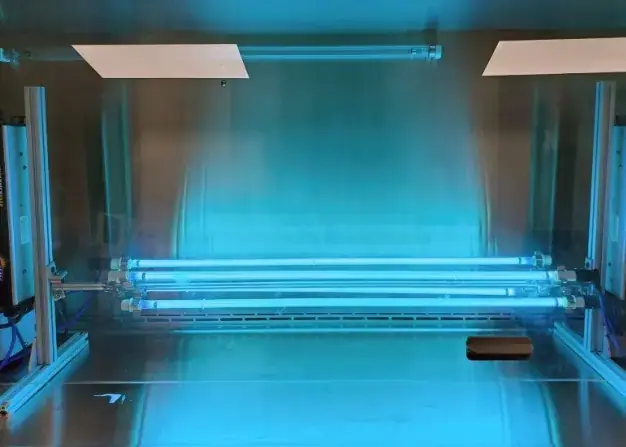
- Inside the supply or return plenum: Placing the light here allows it to treat all air passing through the system.
Ensure there is enough space for installation and future maintenance. Avoid locations where the light could directly shine on plastic or wiring, as prolonged UV exposure can degrade some materials.
Step-by-Step Instructions for Installing a UV Light in Air Ducts
1. Turn Off Power to the HVAC System
Safety is paramount. Before starting any work, switch off the power to your HVAC system at the breaker panel. This prevents electrical accidents and protects both you and your equipment.
2. Mark the Installation Spot
Using your measuring tape and marker, identify the best location as discussed above. Mark the center point where you’ll drill the hole for the UV light housing. Double-check that the area is clear of wiring, refrigerant lines, or other obstructions.
3. Drill the Mounting Hole
Attach the appropriate hole saw to your drill and carefully cut the opening at the marked spot. Remove any sharp edges or metal shavings to ensure a clean fit and prevent injury.
4. Install the UV Light Assembly
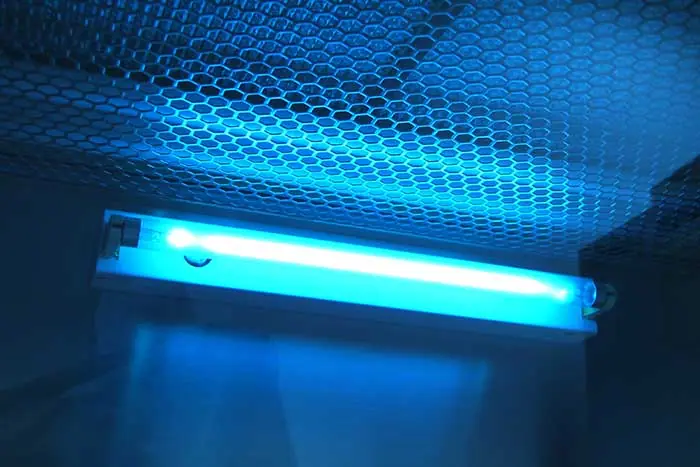
Follow the manufacturer’s instructions to insert the UV light housing into the hole. Secure it using the provided screws or mounting hardware. Ensure the bulb is positioned so that UV rays will shine on the coil or airflow path, not directly on sensitive components.
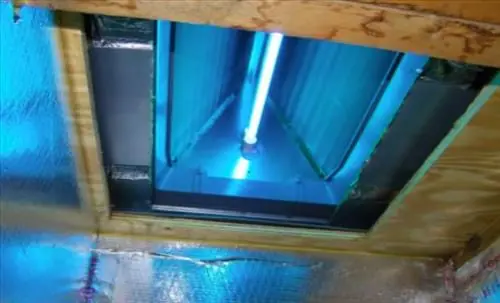
5. Connect Power and Test the System
Most UV kits plug into a standard outlet, but some require hardwiring. If hardwiring is needed, consider hiring a licensed electrician. Once connected, restore power and check that the UV light is operating. Many units have an indicator light or sight glass for easy verification.
6. Replace Access Panels and Clean Up
Reinstall any panels or insulation removed during installation. Clean the area to remove dust and debris. Properly dispose of any packaging or unused hardware.
Maintenance Tips for Long-Lasting Performance
Regular maintenance ensures your UV system continues to work effectively:
- Check the bulb every 6–12 months and replace as recommended by the manufacturer. For a detailed schedule, see our guide on the UV light replacement schedule.
- Clean the bulb and housing periodically to remove dust buildup.
- Inspect for signs of moisture or corrosion around the installation site.
Proper maintenance not only extends the life of your UV system but also helps maintain optimal air quality in your home.
Safety Considerations When Using UV Lights
While UV lights are effective at neutralizing microorganisms, they must be handled with care:
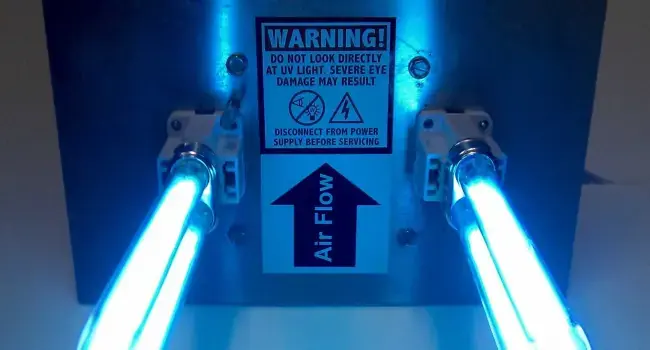
- Never look directly at an operating UV bulb, as it can cause eye injury.
- Wear gloves when handling bulbs to avoid skin exposure and prevent oils from damaging the glass.
- Ensure the system is off before performing any maintenance or bulb replacement.
- Be aware that some UV lights can produce ozone, which may impact indoor air quality. For more details, see the NIST report on UV disinfection and indoor air pollution.
Maximizing Air Quality After Installation
Installing a UV light is just one part of a comprehensive indoor air quality strategy. Combine UV technology with regular filter changes, duct cleaning, and moisture control for best results. For additional tips, see our article on air duct mold prevention tips.
Curious about the science? Learn more about how UV technology can reduce airborne bacteria in your house and contribute to a healthier living environment.
Frequently Asked Questions
How long does it take to install a UV light in air ducts?
Most installations can be completed in 1–2 hours, depending on the complexity of your HVAC system and your familiarity with basic tools. Professional installers may complete the job more quickly.
Are UV lights safe for all HVAC systems?
UV lights are compatible with most modern HVAC systems. However, always check your system’s specifications and consult the manufacturer or an HVAC professional if you have concerns about compatibility or warranty coverage.
How often should the UV bulb be replaced?
Most bulbs last between 9 and 12 months. Refer to your manufacturer’s recommendations and review our UV light replacement schedule for detailed guidance.
Can I install a UV light myself, or should I hire a professional?
Many homeowners with basic DIY skills can install a UV light using the steps outlined above. However, if electrical work or hardwiring is required, or if you’re unsure about any part of the process, it’s best to hire a licensed professional.
Conclusion
Adding a UV light to your air duct system is a practical way to enhance indoor air quality, reduce mold growth, and support a healthier home environment. By following this comprehensive guide, you’ll be equipped to tackle the installation process with confidence. Remember to prioritize safety, follow manufacturer instructions, and maintain your system regularly for the best results. If you need expert assistance or a custom quote, don’t hesitate to contact us today.